
Relief (Linocut, Woodcut, Engraving)
General Safety
Relief Printing
Relief printing techniques include woodcuts, linoleum cuts and acrylic plates for plate relief. These techniques involve the cutting away of plate areas that are not to be printed. Reliefinks can be oil-based or water-based.
Hazards
- Some woods used for woodcuts can cause skin irritation and/or allergies. This is particularly true of tropical hardwoods. See CSA's data sheet on woodworking for more detailed information.
- Accidents involving sharp tools can result in cuts.
- Wood carving and cutting tools can cause carpel tunnel syndrome. This was discussed earlier in the section that included drypoint and mezzotint.
- Caustic soda (sodium hydroxide) is sometimes used for etching linoleum. It can cause skin burns and severe eye damage if splashed in the eyes.
- Eating, drinking or smoking while printing can result in accidental ingestion of pigments.
- Hazardous solvents are used in stop-outs and resists in linoleum etching, and for cleaning up after printing with oil-based inks. See Solvents section for more information on the hazards of solvents.
Precautions
- Obtain the MSDS for all materials used.
- Children under the age of 12 should not be doing woodcuts because of the tool hazards. Linocuts using heat-softened linoleum and water-based inks can be used with older children.
- Water-based inks are preferable to oil-based inks since solvents are not needed.
- Vacuum or mop up all wood dust so as to diminish inhalation of wood dust.
- Always cut in a direction away from you, with your free hand on the side or behind the hand with the tool.
- Carpel tunnel syndrome can be minimized or avoided by using tools with wide handles, avoiding tight grips, and rest periods with hand flexing exercises. Linoleum cutting is softer to work, and thus can reduce musculoskeletal injury.
- Use dilution ventilation (e.g. window exhaust fan) when applying resists for linoleum plates.
- Wear appropriate gloves, goggles and protective apron when handling caustic soda.
- An emergency shower and eyewash fountain should be available. If the chemical is spilled on your skin, wash with lots of water. In case of eye contact, rinse the eyes with water for at least 15-20 minutes and contact a physician.
Linocut
Linoleum is used in the creation of relief prints, the oldest form of printmaking. A design is cut into the linoleum using a variety of gouging tools. The gouged areas are recessed while the uncut areas are raised. The raised areas of the linoleum are inked with a brayer. Then a sheet of paper is laid over the inked linoleum and the design printed either by hand or using a press.
Linoleum: Linoleum, is a generic term used to describe most floor covering materials including the synthetics. Most flooring is made from vinyl, a synthetic and is unsuitable as a printmaking substrate. Authentic linoleum is made from linseed oil, ground cork and organic binders. Today, linoleum is used as a floor covering as well as a substrate for relief printmaking. Artist grade quality linoleum, in smaller mounted or un-mounted formats, can be purchased at arts and crafts stores. Linoleum has no natural grain unlike wood. It is inexpensive, easy to cut and gouge because it is very malleable and has a natural softness to its make-up. Because true linoleum is made from natural ingredients, it has non-allergenic properties and is non-flammable.
Thin linoleum is mounted on wood such as plywood, Masonite or heavy cardboard. Mounted linoleum is best used when rubbing by hand or with a baren to transfer an image to paper. Thicknesses various from 1/8” -1/4”, with the thickest linoleum known as ‘Battleship Gray’. It is hardwearing and can be run through a printing press, un-mounted. Woodworker’s glue and white glues such as Elmer’s and Sobo are excellent adhesives for mounting. Because of its flexibility, a vinyl adhesive is applied if the boards are to be recycled/re-used for future re-mounting. There are no known health risks associated with warming linoleum to regain subtleness.
What tools are used to cut linoleum
- Mat knifes can safely cut linoleum into irregular or jigsaw shapes
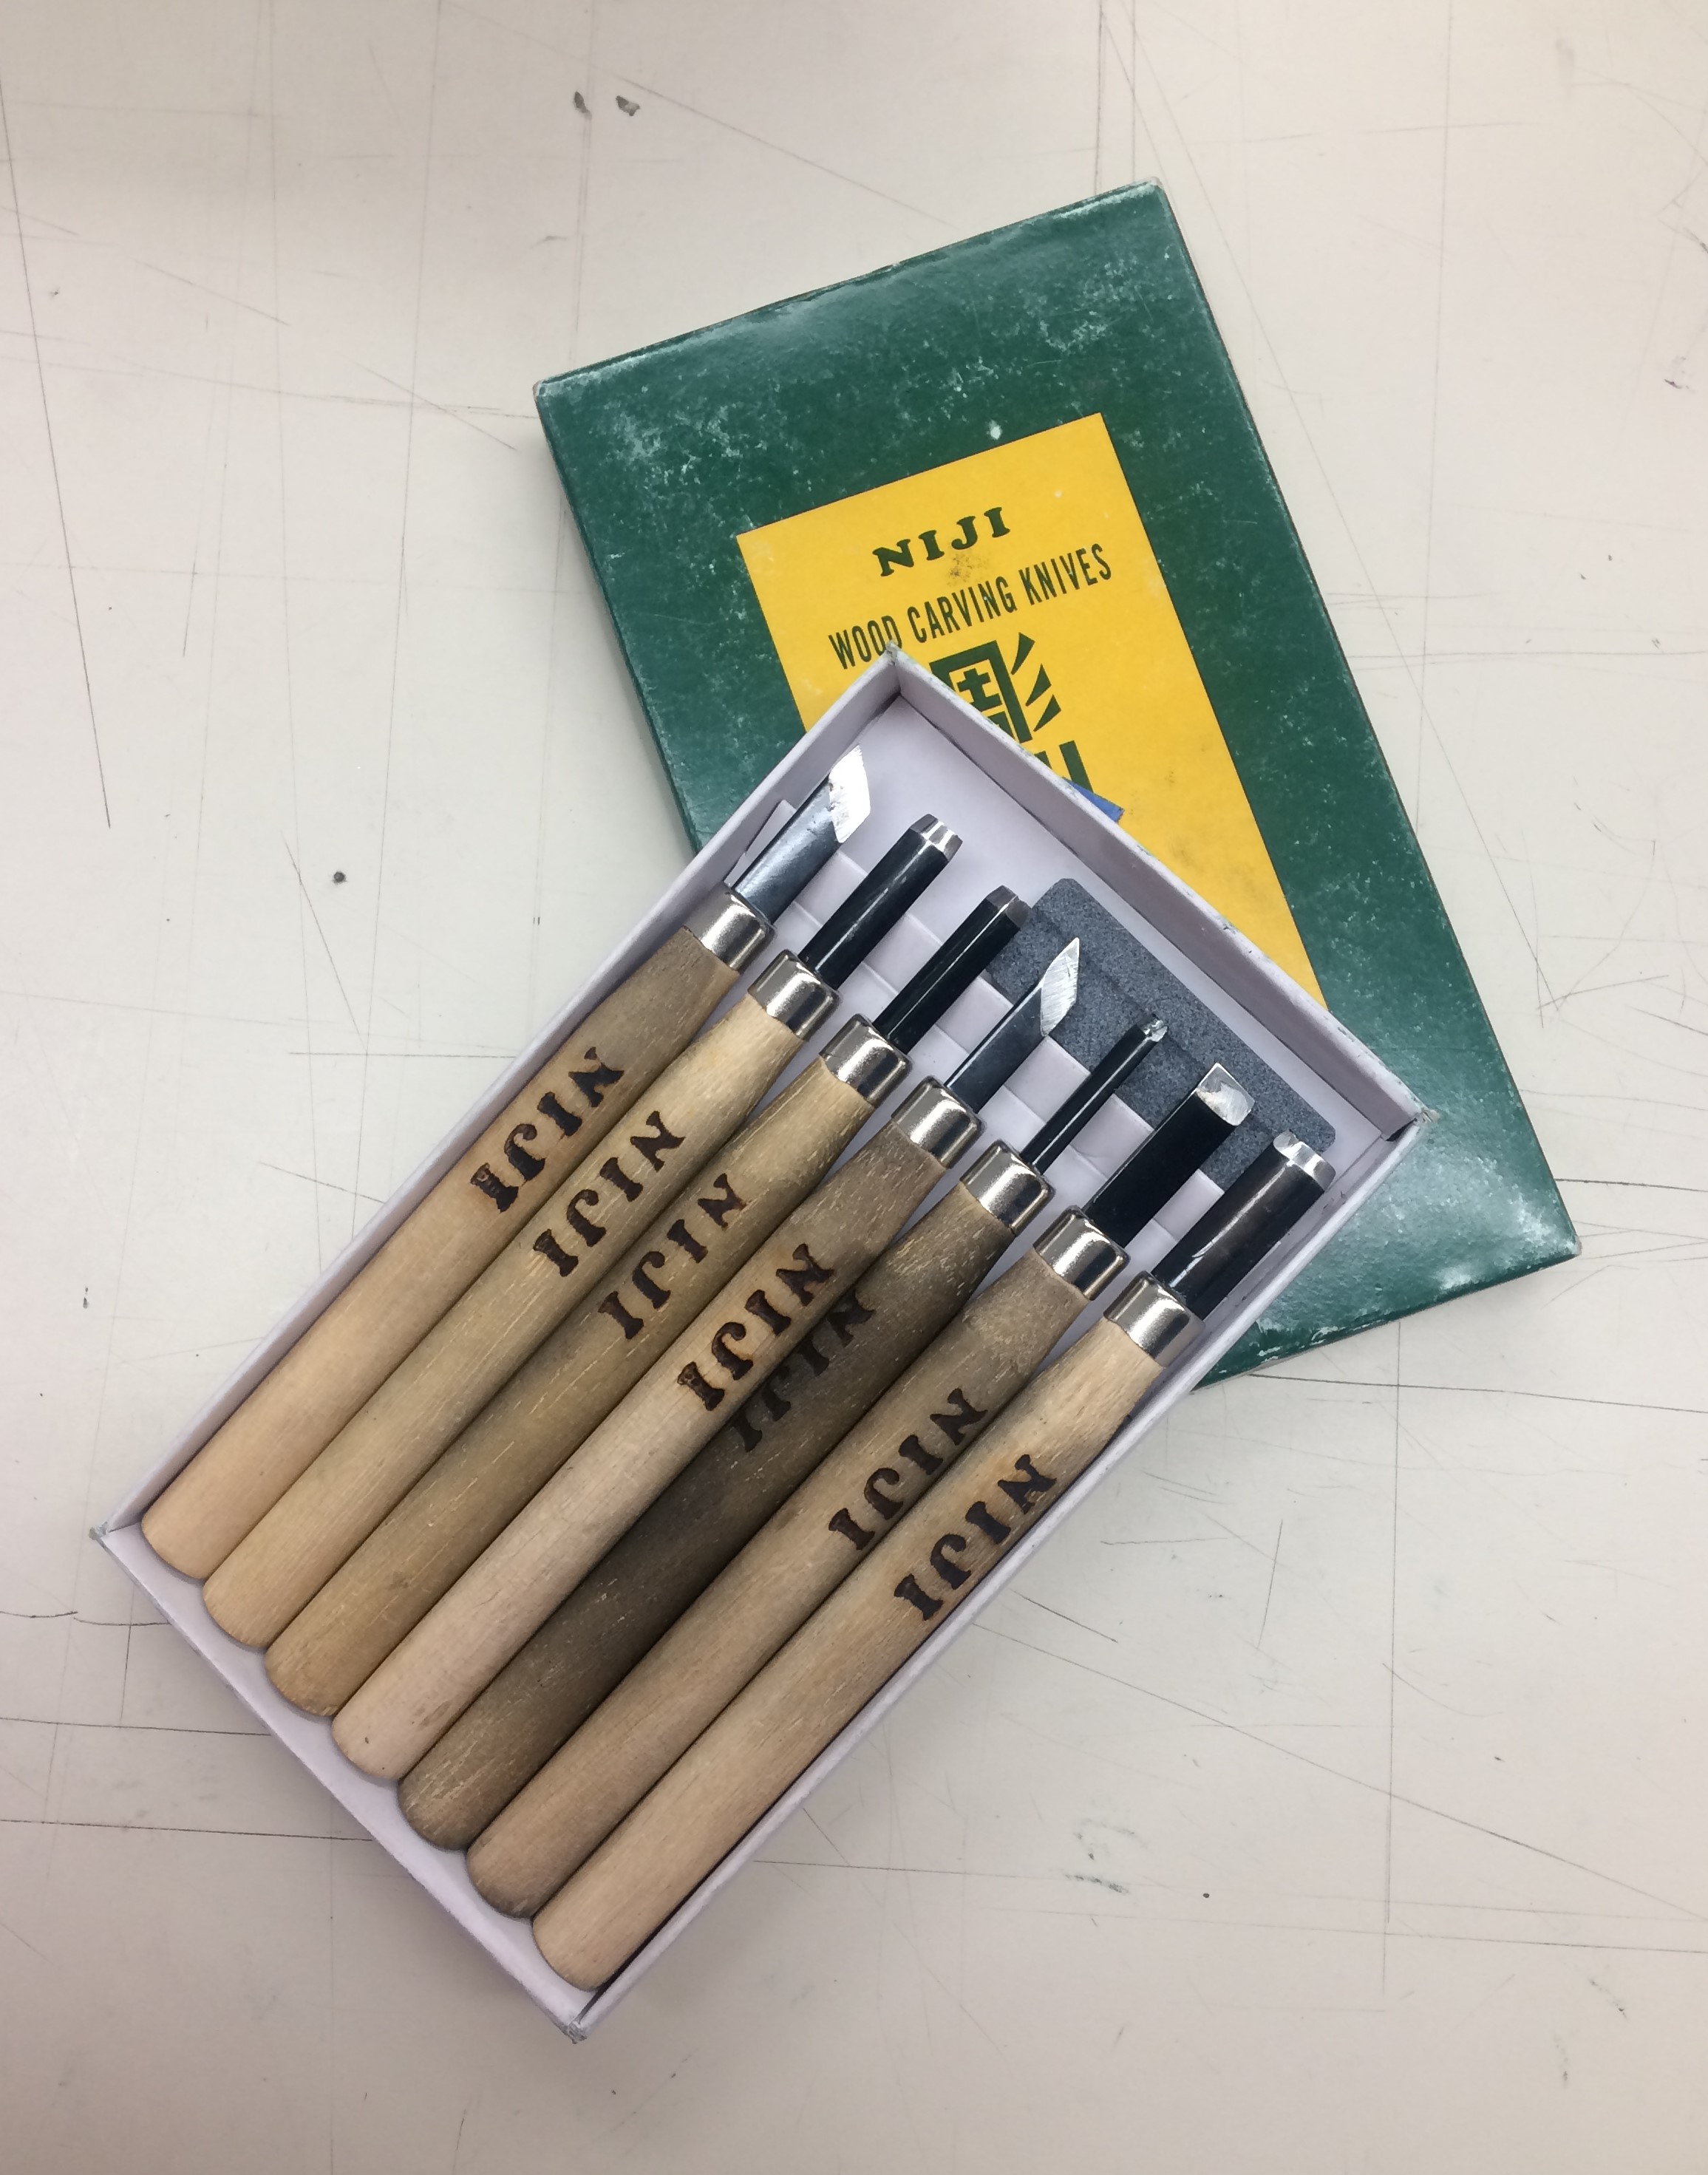
- Hand held cutting tools such as an assortment of gouges, chisels, knives and Speedball replaceable cutters are predominately used
- Electric tools such as drills and a Dremel are used for unique mark making.
- Caustic soda (sodium hydroxide) can be used as an etching agent, however it is toxic.
Letterpress
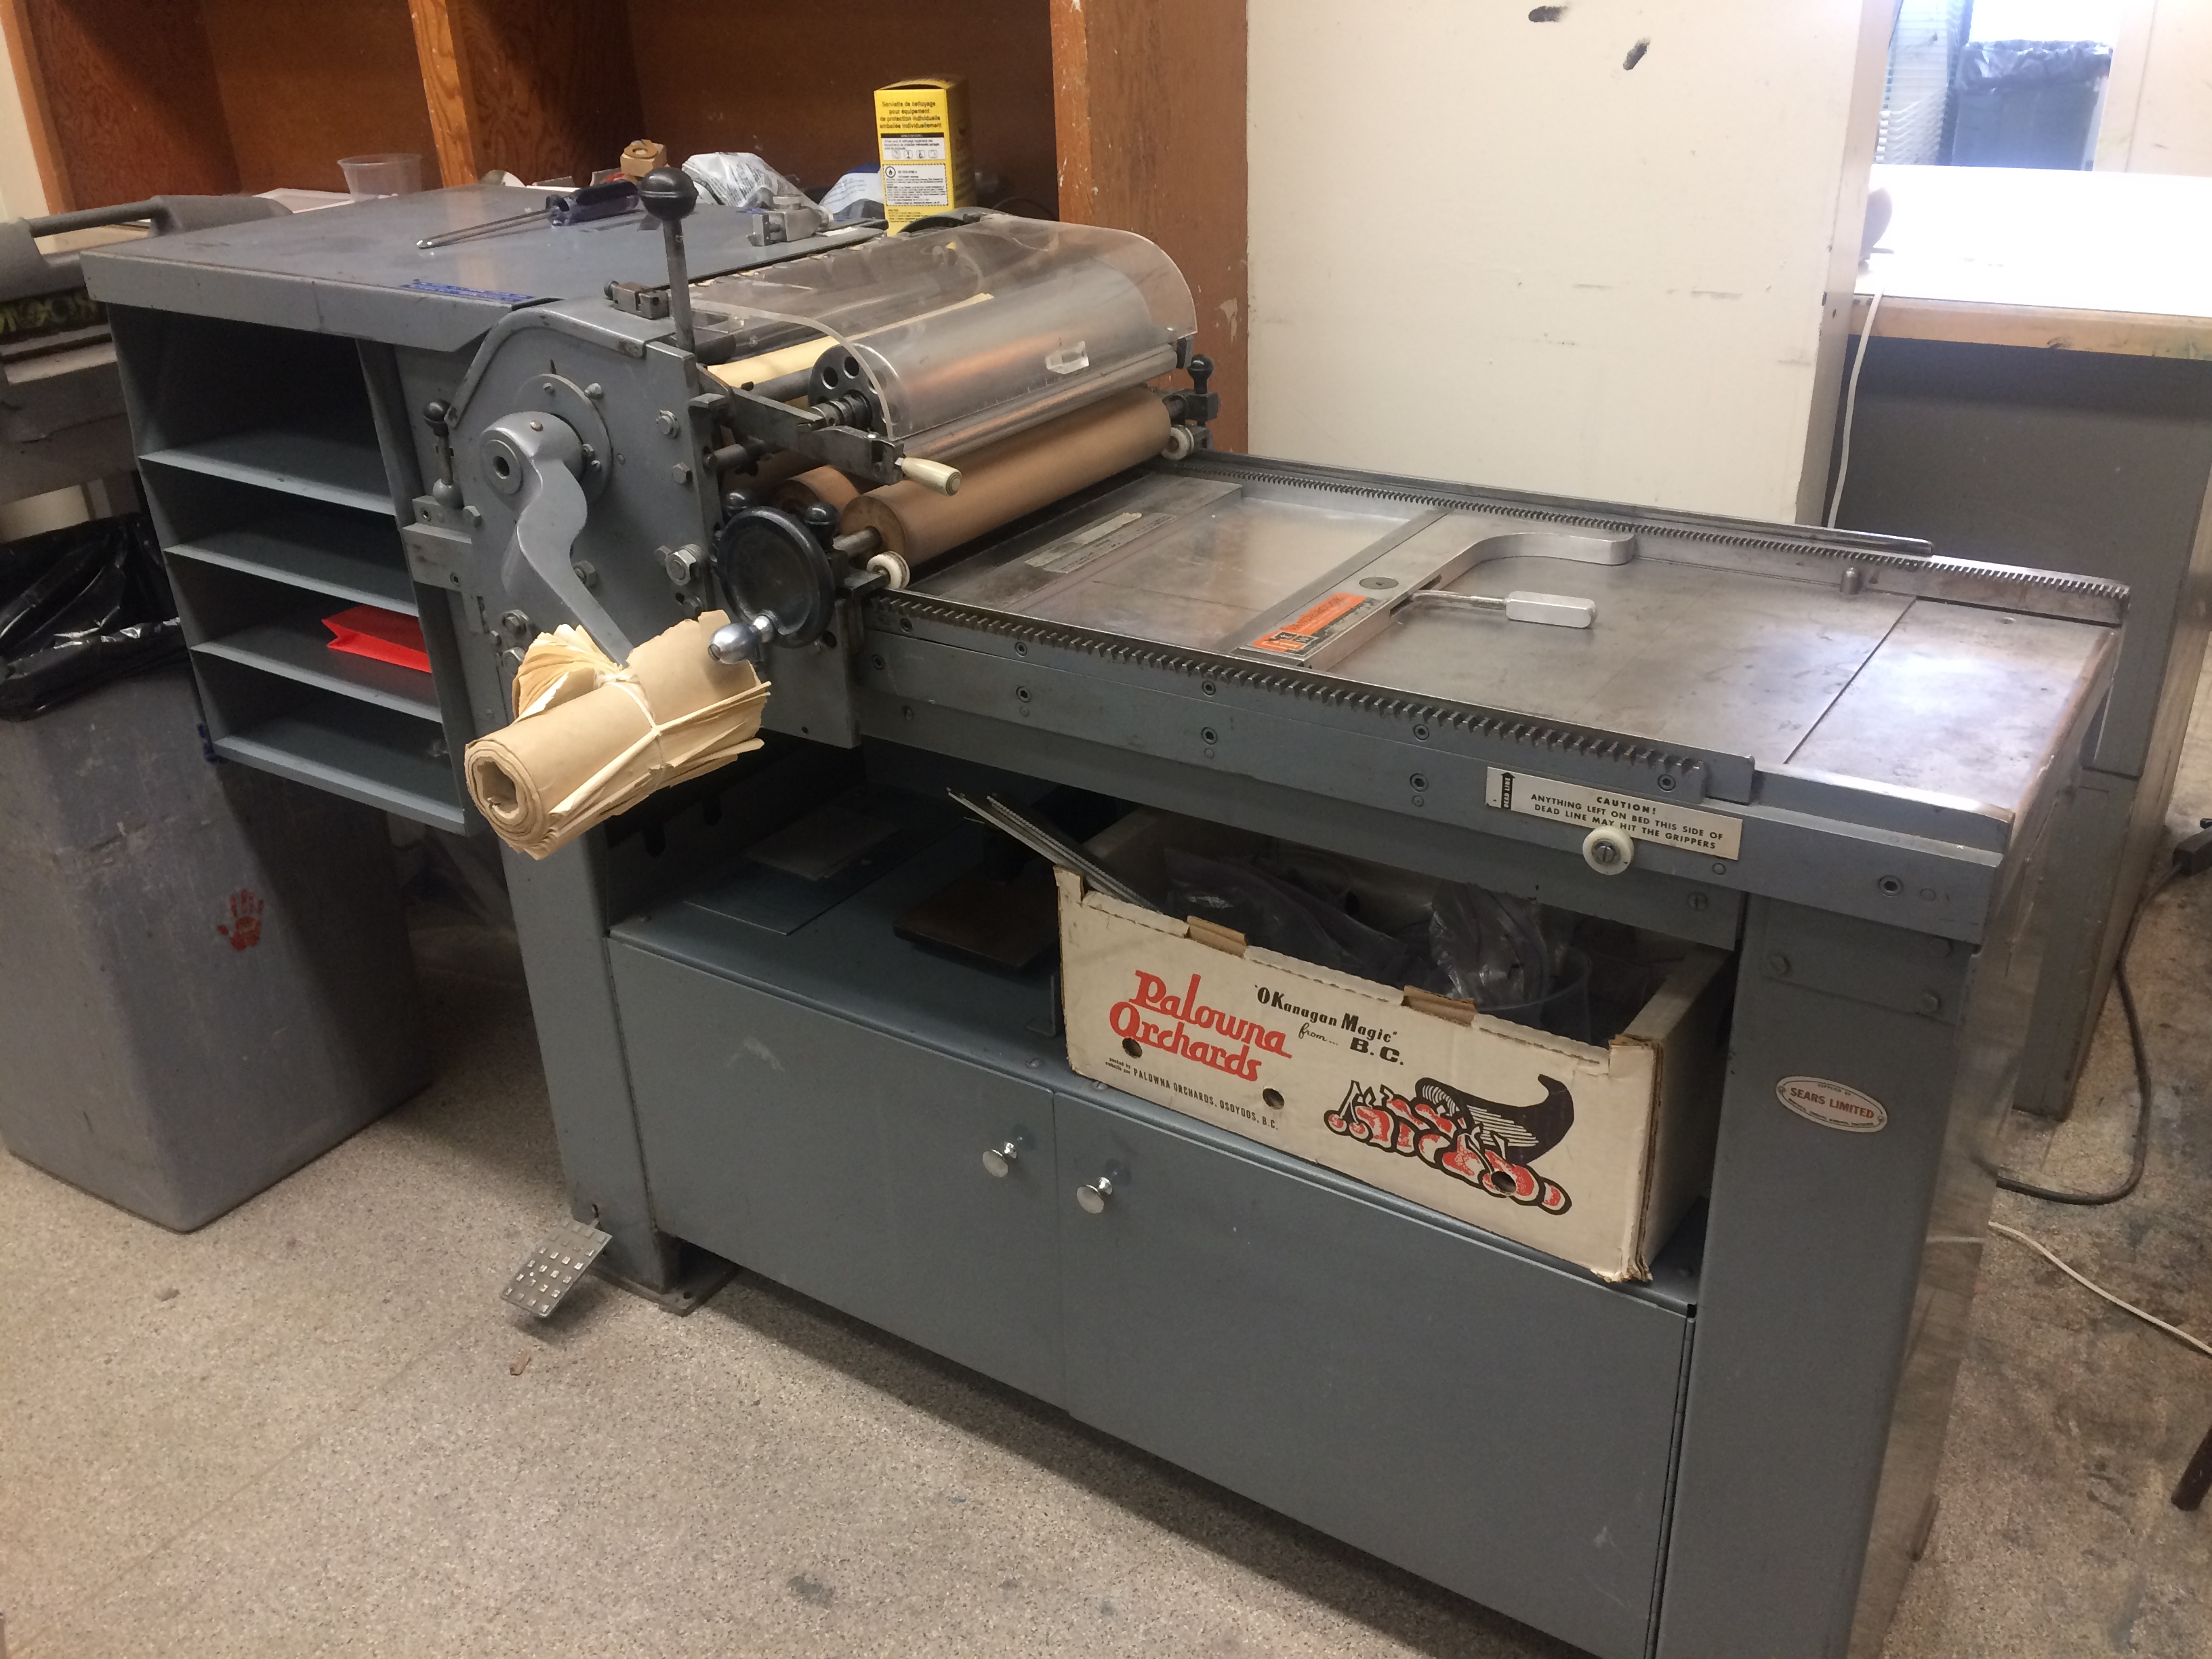
Vandercook Proof Letterpress Printing Linoblocks and Type
lmportant Terms:
- Type high: The specific measurement of a piece of type from the foot to the printing face: 0.918 inch (2.332 cm)
- Galley Tray: metal ray used to store the form before and after printing, and prior to distribution back into the case
- Pica: basic letterpress printer's measurement approx. 1/6th of an inch, and equals L2 points.
- Furniture: wood or metal units used to surround and fill up the space around the form in the press bed or chase; it is made on different 5 and 10 pica lengths, from 10 picas up to 60 picas and width from 2 picas up to 10 picas wide
- Leading: spacing between each line of text
- Quoins: adjustable metal units designed to expand to take up the last amount of space in a lock-up; some quoins are wedge-shaped, others are rectangular; a quoin key operates the quoin to make it expand; quoins come in different pica lengths to fit next to different size forms.
- Job stick: or composition stick -a small three-sided tray, with an adJustable side into which type is set when hand-setting; the stick is usually held in the hand, with the open side toward the compositor, at a slight downward angle so each piece of type slides to the back wall; the job stick has a pica ruler engraved on it with small notches at each pica point.
Set up:
Lino Blocks:
Figure out the position of your block on the press bed. There needs to be at least 1 inch space from the gripper edge of the press-bed. You cannot print the block flush to the gripper edge of the press. Pack the extra space, top and bottom, with wood or metal furniture and add a quoin on at least one of two sides. Your block needs to sit snug when quoin is tightened with the quoin key. Don't put the key in your pocket and don't leave it on the press bed.
Three ways of Printing:
- Blind Emboss for which you don't need any ink at all. Instead your choice of paper and the amount of pressure you add will give it a deeper embossing. Textured handmade papers tend to work very well.
- Hand inking with one or more rollers. Lay-out 2 thin strips of ink the width of your roller, roll it out until even. If it makes a lot of noise while rolling you have too much ink. Use small or medium rollers to ink up your block before each printing.
- Using the Automatic inking system on the Letterpress. See the detailed description on "Printing Letterpress on a Vandercook Proofing Press" Worksheet.
Type:
Setting Pressure:
- Rollers: When using the inking system insure the pressure is set equally across the length of each roller by adjusting the black screw knobs on each side. Use the Roller Setting Gauge to test for equal inking pressure. The rollers should leave a 1/16" strip of ink on the Setting Gauge.
- Press bed packing: Especially good for printing linocuts. If it is not printing well, or you would like more embossing, slowly add paper, aluminum sheets or heavy hardboard to raise your block directly from the press bed. Always start with less pressure and add slowly.' 3 sheets of Tympan Manila paper = 1 aluminum plate 3 sheets of aluminum = 1 cardboard.
- Cylinder packing: Good for varying pressure when printing type. To change packing, move cylinder to center of bed (on trip, if there is a form or plate on the bed) so that reel rod is in up position. Unlatch reel rod ratchet and loosen drawsheet from reel rod. With left hand, grasp packing and, as cylinder is returned to feed board, lay packing on feed board. Smooth packing out with left hand while moving cylinder back. Then insert drawsheet in slotted reel rod and draw tight with wrench. Be sure packing is tight to cylinder at both sides of gripper edge. There is sufficient side play in reel rod to correct a small amount of unevenness in packing. If the pressure is off by just a little bit, instead of taking the cylinder packing apart you could just add 1 or 2 sheets of newsprint behind your printing paper. If you can't move the cylinder over you block, you have too much pressure.
- Pulling an impression: Each time you step on the pedal to raise the grippers in order to insert your paper, the printing press goes into "printing mode" which means impression is on, and the "Trip" switch will automatically engage and point downwards. If you decided you made a mistake and don't want to print yet. You can undo this by pulling the Trip switch upward. After securing your paper under the grippers you start rotating the cylinder slowly with the handle, and carefully smooth out the paper while it gets pulled over the impression. Each time you print you have to move the cylinder carriage all the way to the end of the printing press. It will not release the paper until you hear two clicks, after which you can pull the paper out of the grippers. Once paper is release bring the carriage back to the paper bed. The impression is now OFF until you raise the grippers or manually use the Trip switch.
Test 1: Hawthorne linseed oil based inks
Test 2: Akua Intaglio Inks
Test 3: Caligo Relief Inks
Test 4: Inking the Roling System
Test 5: Using Inks
Test 6: Colour Lino Blocks using Hawthorne and Caligo
Test 7: Colour Lino Blocks With Akua Inks
Inks & Modifiers
Ink Qualities
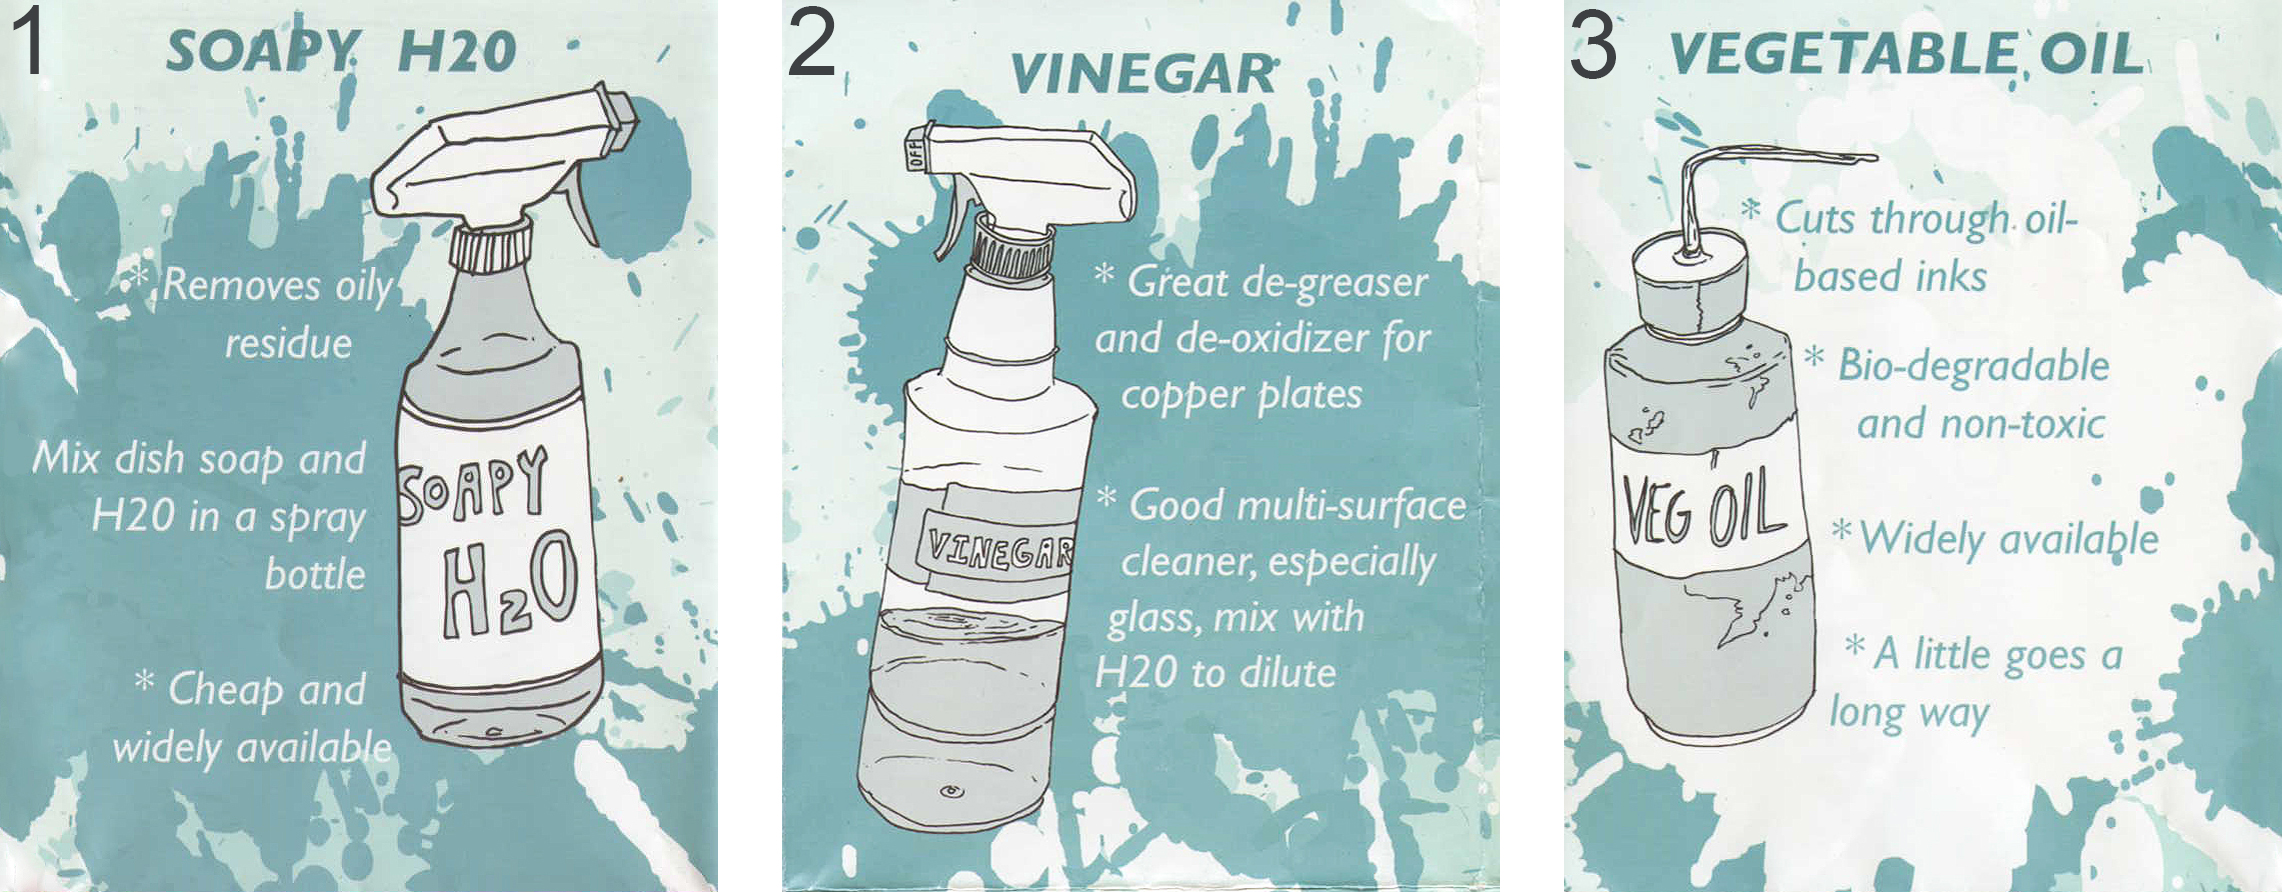
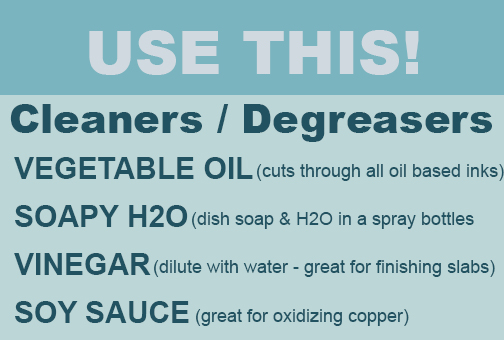
The debate is out in the non-toxic printmaking world whether traditional oil-based inks are "toxic" or not. The matter is subjective because the term "non-toxic" is relative. There is no such thing, in actuality, as completely non-toxic printing. The primary concern around inks is the necessity in the past of cleaning them with solvents. With the advent of VCA's, however (vegetable cleaning agents-- see attached article), solvents are no longer necessary at all.
A look at the MSDS sheets for Graphic Chemical inks will help you decide for yourself: while the inks may be linseed oil based (not petroleum), the pigments and solvents used in the inks can be frightening. Often, pigments involve heavy metals. Inks like Akua water-based not only wash up with soap and water, they have also been thoroughly researched to contain only the safest, most stable pigments.
Quite a few oil-based inks that can be cleaned with soap and water have been developed in the last several years: Charbonnel Aquawash, Faust Aqualine, Caligo SafeWash, and Hawthorn stay-open vegetable inks, to name a few. Caligo and Hawthorn are available for you to try, though I do not recommend Caligo for intaglio. Charbonnel has excellent reviews from printmakers who are hesitant to give up traditional inks. Indeed, it smells like traditional ink, so if you are sensitive to linseed oil, this ink is not recommended.
Akua is often the ink of choice for many printmakers. They find that this water based and soya based ink is looser and more transparent than traditional inks, but overall they were very accepting of them. The looseness and transparency can both be adjusted. They particularly enjoy the easy clean-up! For monoprints, try Akua Kolor. Caligo water based relief ink also has had good reviews (it worked well on a letterpress). Another option besides Caligo and Akua include Hawthorn inks.
Using the Ink on the letterpress
General characteristics of Akua: The consistency of Akua inks varies from color to color. The ink has recently been reformulated to a thicker consistency, but not every color has “caught up” yet. If the ink is thick and pasty out of the jar and seems homogeneous, it is good to be used. If it is runny at all, or if there is an oil-like film on top, the ink must be thoroughly stirred before use. Akua ink dries by absorption rather than evaporation like conventional oil based inks. It is best to layer finished work between blotters or newsprint and place them under weight for at least overnight to ensure dry ink.
Modifying ink: To print on the letterpress, your ink should be loose without being runny. If it is too stiff, it will not distribute well on the inking system or transfer well to your type/image. If it is too loose, it will run into the spaces between your type. Often, Akua is a good consistency right out of the jar. If it is too runny, add magnesium carbonate and work it in with a palette knife. A pool of ink on your palette should retain its shape and not spread out on the palette; at the same time, it should not form stiff peaks if worked with a palette knife. If the ink is stiff and thus forms peaks, or just does not feel very workable, add just a small drop of blending medium. Colors can be mixed. Akua’s transparent base can be added for increased transparency.
Saving/storing ink: Akua does not dry with air contact, so even after a long day of printing, the remaining ink can be saved. Unmodified ink can be returned to its original container. Modified ink or newly mixed colors are best stored in old plastic containers—hummus or small cottage cheese containers work well. An envelope made of acetate also works, but be sure to tape the edges very well so ink does not leak out. Ink will save indefinitely but will need to be mixed at next use. Ink with magnesium in it will become increasingly stiff as the magnesium is absorbed into the ink and expands.
Soya & Gum Based Ink
Water -based Ink
- All of the techniques and effects you use or obtain through oil based ink transfer to Akua. A little adjustment is all it takes, but you should not have to compromise the quality of your print.
- Akua makes metallic inks. They are best mixed with other inks to give them a metallic sheen. For surface rolls, mix the ink and roll up as you normally would. Follow with a roll of lift agent. The lift agent cannot be seen but helps the ink transfer to the paper.
Akua Ink
Woodcut, Linocut or Letterpress
General Characteristics of Akua Ink
- Fluid, and mixes well with water. The soya binder creates the feel of oil.
- Cleans well with Soap and water.
- The ink doesn’t skin or harden, and it doesn’t dry on the ink slab either. Though it depends on paper qualities to pull out moisture.
- Akua Liquid Pigment can be mixed into Akua Intaglio Inks or Transparent Base to create various new colors for intaglio or relief techniques.
- Akua Liquid Pigment can also be printed on top or beneath Akua Intaglio inks for multi-plate overlays.
- Akua colour blending medium loosens ink.
- It prints beautifully on dry paper because it stays wet on the plate. The tedious task of soaking, blotting, flattening and drying paper before and after printing is eliminated.
- It also allows for perfect registration because the paper will not stretch or shrink when it goes through the press.
Akua Ink Qualities (for woodcut, linocut or letterpress)
- The consistency of Akua inks varies from colour to colour.
- The ink has recently been reformulated to a thicker consistency, but not every colour has “caught up” yet.
- If the ink is thick and pasty out of the jar and seems homogeneous, it is good to be used.
- If it is runny at all, or if there is an oil-like film on top, the ink must be thoroughly stirred before use.
- Akua ink dries by absorption rather than evaporation like conventional oil based inks.
- It is best to layer finished work between blotters or newsprint and place them under weight for at least overnight to ensure dry ink.
Modifying Akua Ink (for letterpress)
- To print on the letterpress, your ink should be loose without being runny.
- If it is too stiff, it will not distribute well on the letterpress inking system or transfer well to your type/image.
- If it is too loose, it will run into the spaces between your letterpress type.
- Often, Akua is a good consistency right out of the jar. If it is too runny, add magnesium carbonate and work it in with a palette knife.
- A pool of ink on your palette should retain its shape and not spread out on the palette; at the same time, it should not form stiff peaks if worked with a palette knife. If the ink is stiff and thus forms peaks, or just does not feel very workable, add just a small drop of blending medium. Colors can be mixed.
- Akua’s transparent base can be added for increased transparency.
Modifying Akua Ink (for woodcut, linocut or letterpress)
- Often, Akua is a good consistency right out of the jar.
- If it is too runny, add magnesium carbonate and work it in with a palette knife.
- A pool of ink on your palette should retain its shape and not spread out on the palette; at the same time, it should not form stiff peaks if worked with a palette knife.
- If the ink is stiff and thus forms peaks, or just does not feel very workable, add just a small drop of blending medium.
- Colors can be mixed.
- Akua’s transparent base can be added for increased transparency.
Saving and storing Akua Ink (for woodcut, linocut or letterpress)
- Akua does not dry with air contact, so even after a long day of printing, the remaining ink can be saved.
- Unmodified ink can be returned to its original container.
- Modified ink or newly mixed colors are best stored in old plastic containers—hummus or small cottage cheese containers work well.
- An envelope made of acetate also works but be sure to tape the edges very well so ink does not leak out.
- Ink will save indefinitely but will need to be mixed at next use.
- Ink with magnesium in it will become increasingly stiff as the magnesium is absorbed into the ink and expands.
Caligo Safe Wash Ink
- Oil-based ink for all techniques including woodcut, linocut, monotype, letterpress, Intaglio and Solarplate
- Soap and water clean-up - no solvents required
- Available in a wide range of colors
- Ink will not reactivate with water after it is fully dry
- Lightfast and highly pigmented
- Excellent for any studio where solvents cannot be used
Caligo Safe Wash Relief Inks will handle and print like any traditional oil-based ink but these inks have been formulated so they can be safely and easily washed away with soap and water. You don't need solvents to clean up Caligo Safe Wash Relief Inks.
Thin the ink with Caligo Safe Wash Oil, which is made with the same washable oil medium used in the Safe Wash inks. Thicken the ink with magnesium carbonate. While you can safely add traditional oil-based ink to Caligo Safe Wash Ink, too much will alter the ink so that it loses its ability to be cleaned with soap and water alone.
All the inks except for Light Orange, Burnt Sienna and Raw Umber are made from single, pure pigments, meaning they are excellent for mixing your own vibrant colors.
The inks can be printed on dry or damp paper. Since they are designed to emulsify in soap and water, it is recommended that you keep your paper fairly dry and make sure there is no surface water on the paper.
Caligo Safe Wash Relief Ink dries by oxidation and polymerization. The ink will dry most efficiently if it is printed on absorbent, acid free paper and allowed to dry in a warm and dry environment. The inks contain a very small amount of driers, less than 1%. If you wish to speed up the drying process you can safely add up to 0.5% liquid cobalt or manganese drier.
Clean up
- Clean-up is safe and easy. First, remove as much ink as possible by rolling the brayers on newsprint and scraping away any ink left on glass slabs with a paint scraper.
- Apply a layer of liquid soap (no water yet) to the inky surfaces and work it in with a nail brush.
- When all the ink is loose, wash under warm water, using the brush to help lift and carry away any remaining ink.
- If any stubborn patches of ink remain, dry the surface with a paper towel, work in more soap and wash again.
- Water alone sometimes causes the ink to cling so remember the rule "soap before water!"
- Carefully dry all tools and surfaces before final storage.
Clean-up of Akua Ink (for woodcut, linocut or letterpress)
- All clean up processes require dish soap and water (mixed—about 1/3 soap to 2/3 water), clean sponges, and a lot of dry shop towels or clean, lint-free rags.
Cleaning Rollers (used with Akua Ink)
- For the inking system rollers. If you ink by hand or use the system, the steps are generally wipe as much excess ink as possible off with a dry shop towel (hand rollers can be rolled out on the palette or some newsprint).
- Follow with a little soapy water on a sponge.
- Proceed with a damp, non-soapy sponge to remove any soap residue.
- Dry thoroughly with a shop towel.
- Do not forget the edges of the rollers.
- It is sometimes helpful to run damp hand rollers along some newsprint to blot up excess water.
Cleaning Palette/palette knives/other tools (used with Akua Ink)
- Same general procedure: wipe as much as possible with a dry towel, follow with soap and water, rinse, and dry.
Cleaning Polymer plates (used with Akua Ink)
- Wipe off the ink with a dry shop towel. If necessary, follow with soapy water, etc.
Cleaning Letterpress Type (used with Akua Ink)
- Run a few sheets of newsprint through the press to lift off excess ink. Follow with a dry shop towel.
- Then take a stiff paintbrush with a bit of soapy water on it (or q-tips, for very small fonts) and brush the type, working into tight corners (like centers of “e”s and “o”s) to remove stubborn ink.
- Use a damp shop towel to blot up the soapy water. Be thorough! It is important that soap residue is not left on the type.
- Finish by drying thoroughly with a dry shop towel.
- The lead will rust if it is left damp.
- If you are able to break down your type and return it to the drawers right away, do so. Water may otherwise seep between the type and remain there.
Cleaning Tips
Safer Printmaking Cleaning – A Word of Caution
There are several institutions in Canada including the University of Saskatchewan, Nova Scotia College of Art and Design, the Ontario College of Art and Design, Queens University, The University of Alberta, who have successfully made the cross-over to non-toxic vegetable cleaners. Representatives from other institutions who have replaced Varsol and other petroleum based cleaners with Estisol or soy-based non-toxic vegetable cleaners. There is a learning curve when making the transition from petroleum-based to vegetable-based solvents. Vegetable-based solvents can destroy rollers if not removed properly and cleaned up completely.
Woodcuts
Woodcuts, wood engravings and linocuts inked with oil-based inks can be cleaned in the same way as etching plates. To prevent the block from warping, first remove excess ink, then rub the block with a rag with some VCA until more or less clean. Remove the VCA with a damp rag with some soap and finally rub the block with a dry rag. During proofing some VCA might come from the wood, but after four or five impressions that is gone. With the first proof the ink will not stick well to the block, but that goes also after a few impressions have been taken. To prevent VCA penetrating the wood, brush the block with an acrylic coating.
Letterpress
Clean-up: All clean up processes require dish soap and water (mixed—about 1/3 soap to 2/3 water), clean sponges, and a lot of dry shop towels or clean, lint-free rags.
Type: Run a few sheets of newsprint through the press to lift off excess ink. Follow with a dry shop towel. Then take a stiff paintbrush with a bit of soapy water on it (or q-tips, for very small fonts) and brush the type, working into tight corners (like centers of “e”s and “o”s) to remove stubborn ink. Use a damp shop towel to blot up the soapy water. Be thorough! It is important that soap residue is not left on the type. Finish by drying thoroughly with a dry shop towel. The lead will rust if it is left damp. If you are able to break down your type and return it to the drawers right away, do so. Water may otherwise seep between the type and remain there.
If you ink by hand or use the system, the steps are generally the same: wipe as much excess ink as possible off with a dry shop towel (hand rollers can be rolled out on the palette or some newsprint). Follow with a little soapy water on a sponge. Proceed with a damp, non-soapy sponge to remove any soap residue. Dry thoroughly with a shop towel. Do not forget the edges of the rollers. It is sometimes helpful to run damp hand rollers along some newsprint to blot up excess water.
Palette/palette knives/other tools: Same general procedure: wipe as much as possible with a dry towel, follow with soap and water, rinse, and dry.
Polymer plates: Wipe off the ink with a dry shop towel. If necessary, follow with soapy water, etc. as above, but generally, a good wipe is enough.
Suppliers
- Caligo Inks – oil and waterbased inks
- Cranfield - Inks and etching supplies
- Don Black - Letterpress supplies
- E.C. Lyons Company – printmaking and engraving tools
- Graphic Chemical -all kinds of printmaking supplies
- Hawthorn Printmaker Supplies - Inks for lithography, relief, intaglio, and screenprinting
- McClain’s Printmaking Supplies – Printmaking relief supplies
- Opus Art Supplies- Oil and water based inks
- Polymetaal Site - Printmaking equipment and supplies
- Renaissance Graphic Arts – all kinds of printmaking supplies
- Speedball – great waterbased inks
- Takach Press – Based in Albuquerque, press, roller, and Brayers